3 easy steps to reclaim clay at home
In this post I’ll show you how I reclaim clay at home using a few household items that you may already have or could easily purchase at a hardware or dollar store for under $20. This method uses natural drying over a 24-48hr period.

In this post I’ll be reclaiming about 14lbs of mixed clay (a combination of speckled brown, black, and sand). This amount of clay would cost about $11 and could be turned into any number of objects that could be gifted or sold, so I think it’s a worthwhile process, plus it might feel nostalgic of being a little kid making mud pies in the backyard :)
Let’s get dirty
I keep my reclaim in these Encore Plastics 1 gal. buckets I picked up at the hardware store for about $10. I love how small and tough they are.
In a previous post about my home studio, I show you where these reclaim buckets live when they’re not in use :)

Each lid and bucket is labeled with the clay color inside (DARK or WHITE) and I pull these out when I’m working to toss dry scraps into right away. As the scrap pile rises, add a little more water.
Tactile and sensory play keeps you grounded in the moment, aids in a healthier immune system and provides emotional wellbeing and a natural outlet for raw creativity
~
MUD PLAY
Tactile and sensory play keeps you grounded in the moment, aids in a healthier immune system and provides emotional wellbeing and a natural outlet for raw creativity ~ MUD PLAY

The basic idea with reclaim is that you want to remove the water (around 70%) in your clay. Once this excess water is removed through natural drying, you will be able to wedge and turn the reclaimed clay back into a usable material.
A plaster bat (a flat, solid block) is by far the fastest for drying out clay. I do not have one yet because the amount of reclaim I do at this point is pretty minimal and I don’t have a great place to store it, but here’s a great tutorial on reclaiming clay with a plaster bat :)
3 Easy Steps To Reclaim Your Clay at Home

1 - Gather & prep

2 - Layer towels & secure

3 - Pour in clay & wait :)
I like to reclaim on my patio when the weather permits, but have also successfully reclaimed indoors with this method. If you don’t have outdoor access, lay an old towel down on your work surface and keep your wet clay by a sunny window or in a hot, dry room.


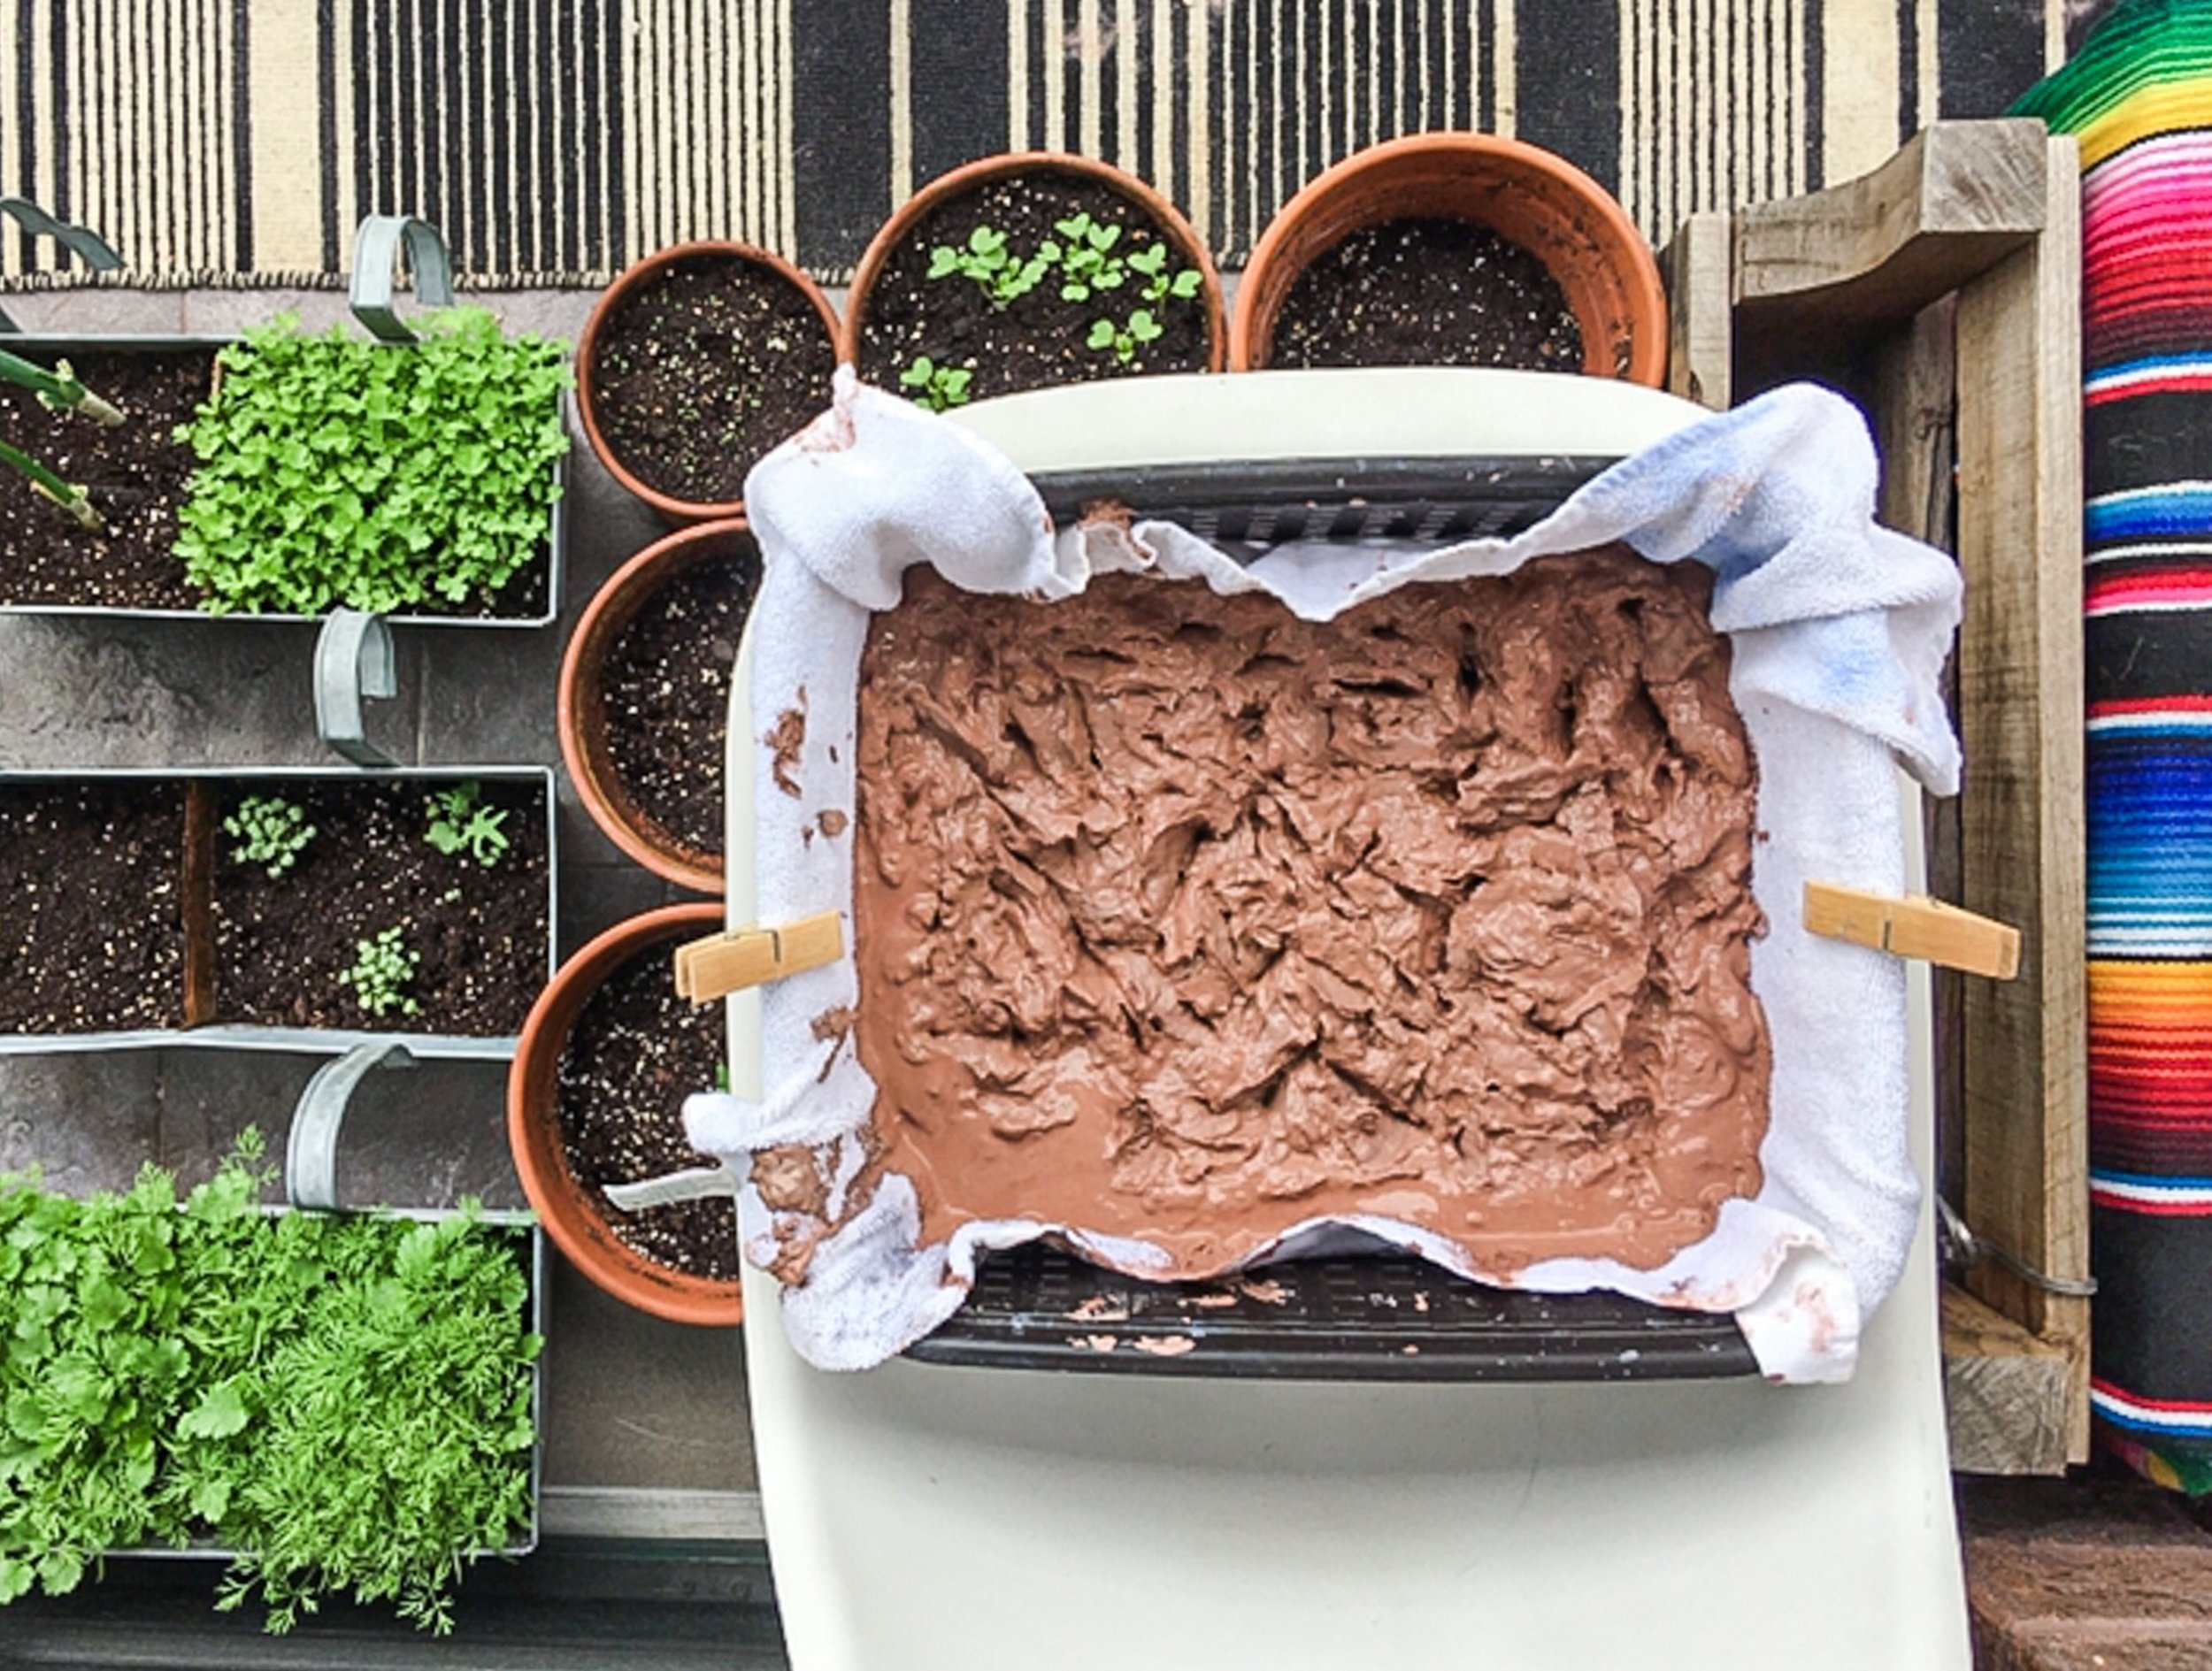
There are so many variables that may affect you clay’s drying time, so be patient - the best place for your reclaim baby is a warm, dry, sunny place, inside or out. Check on it every once in awhile and look for a consistency that caves in like dough and doesn’t stick to your hands. I’ve also found that when the clay pulls away from the towel easily you’re in wedging territory. Typically this has taken me anywhere from 24-48 hours. Good luck and have fun!
“thanks for being here! hopefully you found something useful here and maybe laughed a little, too. If you would like to hear about future content like this, please consider joining the email list. cheers!”